
Pressure-Washing Your Home's Exterior Without Causing Damage
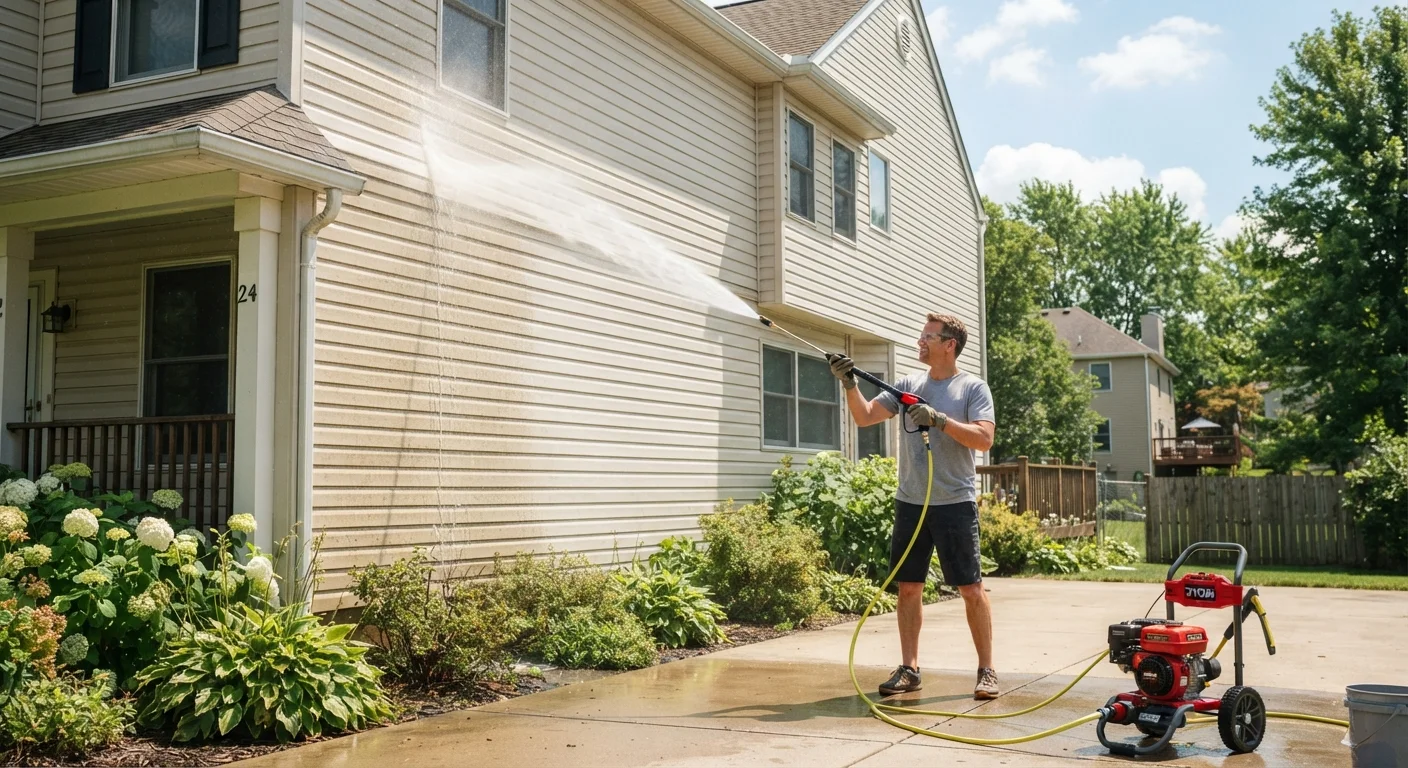
Photo credit: PrimeFaqs.com | Trending And Accurate Content
Too much pressure on the wrong surface strips paint, forces water behind siding, and voids warranties. Here's how to do it safely and effectively.
Key Takeaways
- Match PSI and nozzle type to the surface - wrong settings strip paint and force water behind siding.
- Always work top-to-bottom and keep the nozzle moving to avoid gouging or etching surfaces.
- Protect windows, vents, light fixtures, and landscaping before you start spraying.
- Softer surfaces like wood siding and stucco require lower pressure and wider spray angles than concrete.
- When in doubt about a surface's condition or material, hire a professional to avoid voiding warranties.
Why Pressure and Technique Both Matter
Pressure washing looks straightforward, but it's one of those tasks where confidence without knowledge leads to expensive mistakes. Too much pressure on vinyl siding causes permanent warping; on wood, it raises the grain and creates furring that holds moisture. On stucco, a tight spray angle can crack the surface coat. Even with concrete driveways, excess pressure can etch patterns or erode the surface over time.
The good news: most of these outcomes are entirely preventable with the right approach. This guide walks you through the process surface by surface, so you clean effectively without causing the kind of damage that leads to repainting, reside, or worse. Pressure washing is also a natural part of broader seasonal upkeep - see every homeowner's spring maintenance list for how it fits into your annual routine.
Never Spray Directly Into Gaps or Seams
High-pressure water forced behind siding, window trim, or soffit vents can saturate wall cavities, promote mold growth, and cause structural rot that won't be visible for months. Always angle the nozzle downward and maintain a safe standoff distance. If you notice existing gaps or cracks in your siding, seal them before pressure washing - not after.
Before gathering your tools, also check our common home maintenance myths piece - a few widely believed assumptions about exterior cleaning can actually lead you astray.
What You'll Need
Having the right equipment on hand before you start makes the job safer and faster. Consumer-grade electric pressure washers typically output between 1,300 and 1,900 PSI, which is sufficient for most siding materials. Gas-powered units reach 2,500 PSI and above - powerful enough for driveways and concrete, but require extra caution around siding and painted surfaces.
Pressure washer (electric or gas)
Delivers the pressurized water stream used to clean exterior surfaces.
Nozzle set (15°, 25°, 40°, and soap nozzles)
Different spray angles control pressure intensity for various surfaces.
Exterior cleaning detergent
Breaks down mildew, algae, and grime before rinsing - reduces the pressure needed.
Extension wand
Allows safe cleaning of second-story surfaces without using a ladder at height.
Safety glasses and closed-toe shoes
Protects eyes from debris and feet from accidental spray.
Plastic sheeting or tarps
Covers landscaping, outdoor furniture, and electrical fixtures during washing.
If you're renting a machine, ask the rental staff about PSI output and whether it comes with a full nozzle set. A missing nozzle can limit your ability to work safely on different surfaces.
Pressure Washers Can Cause Serious Injury
The stream from even a consumer-grade pressure washer can lacerate skin and cause injection injuries. Never point the wand at yourself, other people, or pets. Wear closed-toe shoes and safety glasses at all times, and treat the machine as you would any power tool - with full attention and respect.
Follow These Steps
What you will need
Inspect the exterior before you begin
Walk the full perimeter of your home and look for cracked caulk, peeling paint, loose siding panels, damaged window seals, and any open gaps around vents or utility penetrations. Pressure washing over compromised surfaces forces water into wall cavities. Make any necessary repairs - caulking, paint touch-ups, loose fasteners - before picking up the wand. This is also a good time to note what materials you're working with, since vinyl, wood, brick, stucco, and fiber cement each tolerate different pressure levels.
Protect vulnerable areas
Cover outdoor electrical outlets, light fixtures, doorbells, and HVAC units with plastic sheeting secured with painter's tape. Close all windows and doors completely. Move patio furniture, potted plants, and decorations away from the work area. Cover nearby garden beds and shrubs with tarps - cleaning detergents can harm plants, and high-pressure water can shred foliage. Turn off exterior electrical circuits that supply outlets or fixtures near the work area if possible.
Choose the right nozzle and pressure setting
Select your nozzle based on the surface material:
- 40° white nozzle: Use on wood siding, painted surfaces, and stucco - the wide fan reduces impact while still cleaning effectively.
- 25° green nozzle: Suitable for vinyl siding, brick, and concrete driveways.
- 15° yellow nozzle: Reserved for unpainted concrete or masonry - too aggressive for most exterior cladding.
- Black soap nozzle: Low-pressure application of detergent before rinsing.
As a general rule, start with the lowest effective pressure - you can always increase it, but you cannot undo stripped paint or gouged wood grain.
Apply detergent and allow dwell time
If your home has visible mildew, algae, or heavy organic staining, attach the soap nozzle and apply an exterior cleaning detergent formulated for pressure washers. Work from the bottom up when applying soap - this prevents streaking caused by detergent running down dirty surfaces. Allow the solution to dwell for five to ten minutes (check the product label), but do not let it dry on the surface, as dried detergent can leave residue and stain some materials.
Rinse top to bottom, keeping the nozzle moving
Switch to your rinsing nozzle and begin at the roofline or highest accessible point, working methodically downward in overlapping, side-to-side passes. This ensures dirty water flows down and away from already-cleaned sections. Maintain a consistent standoff distance - typically 12 to 18 inches for siding, and closer to 6 to 12 inches for concrete. Keep the wand at a slight downward angle; spraying upward or directly perpendicular to horizontal lap siding drives water behind the panels. Never hold the nozzle stationary - constant movement prevents streaks and surface damage.
Address stubborn spots carefully
For persistent stains - rust marks around fasteners, heavy organic growth in shaded corners - move the nozzle slightly closer or switch to a narrower nozzle angle rather than increasing the machine's PSI dramatically. On wood surfaces, scrubbing with a soft-bristle brush after a detergent application is often more effective and safer than raw pressure. Avoid concentrating the stream on a single spot for more than two or three seconds.
Clean up and do a final inspection
Once rinsing is complete, turn off the machine, release residual pressure by squeezing the trigger, and disconnect hoses. Remove all tarps and sheeting. Walk the perimeter again while the surface is still wet - this is the easiest time to spot missed areas, surface damage you may have caused, or existing issues that become more apparent when wet (such as soft wood or bubbling paint). Allow siding to dry fully - typically 24 to 48 hours - before applying any paint, stain, or sealant.
For related guidance on knowing when a maintenance task is truly within DIY reach, the gutter cleaning guide applies the same logic to another exterior task homeowners commonly underestimate.

Author
Home & Garden Editorial Team
Home & Garden Editorial Team is the collective byline for our editorial team and contributor network. Articles published under this byline or an editorial pen name are researched, written, and reviewed according to our editorial standards for clarity, consistency, and independence before publication.
View all articles →