
Drywall Finishing Levels Explained: Why the Number on Your Spec Sheet Matters
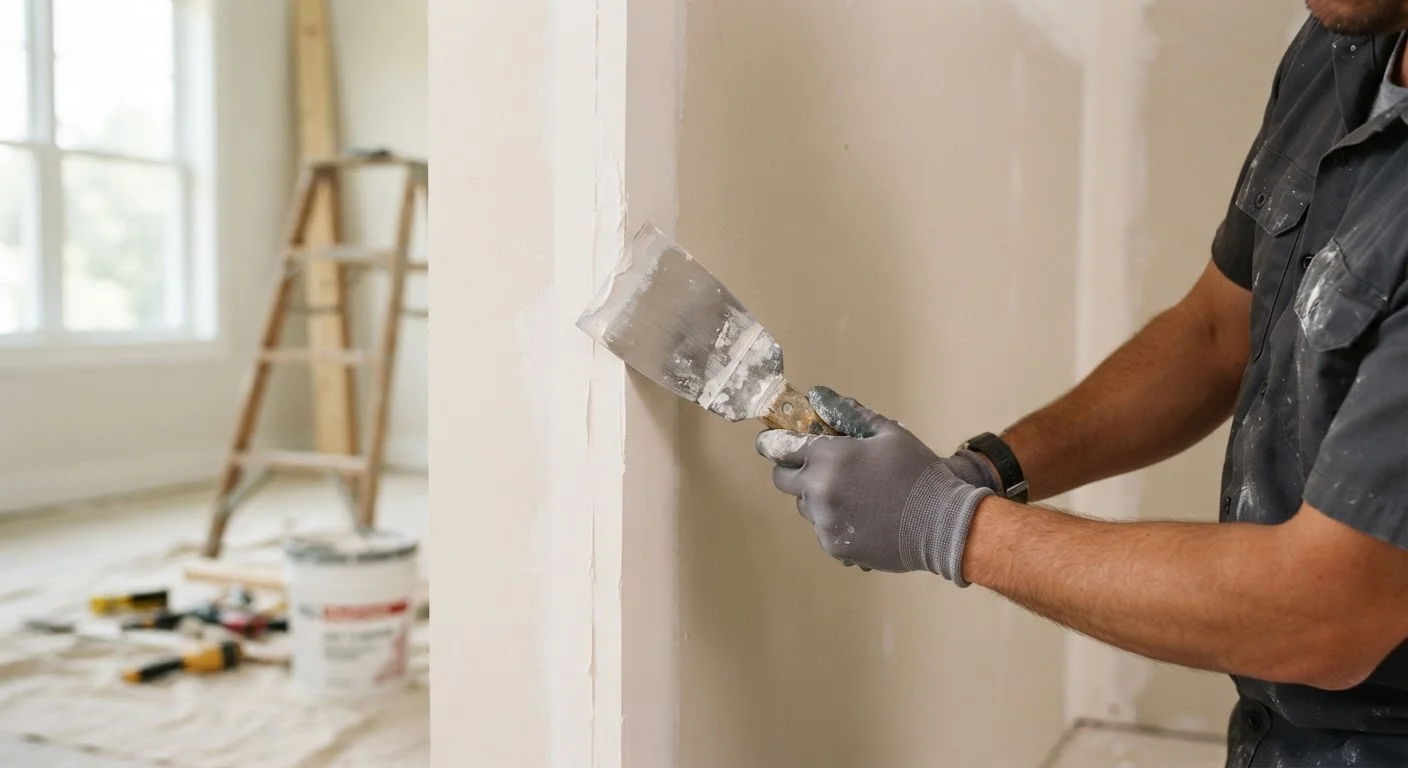
Photo credit: PrimeFaqs.com | Trending And Accurate Content
In this article
Drywall finishing is graded on a 0–5 scale. Understand what each level means, where it's used, and how to specify the right one for your project.
Key Takeaways
- The 0-5 scale is standardized industry-wide, so specifying a level removes ambiguity from contractor bids.
- Paint sheen and lighting conditions directly determine which finishing level you actually need.
- Level 5 is the only finish appropriate under gloss or semi-gloss paint in well-lit spaces.
- Most residential interiors use Level 4 as the standard finished wall.
- Lower levels (0-2) are appropriate for utility spaces, not finished living areas.
Why a Number on a Spec Sheet Actually Matters
Walk into any drywall conversation without knowing the finishing level, and you're essentially ordering a meal without a menu. You might get something reasonable - or you might get bare tape and fasteners left exposed. The 0-5 finishing scale, established by the Gypsum Association, gives contractors and homeowners a shared language for exactly what a wall should look like before the painter ever arrives.
Misspecifying - or failing to specify at all - is one of the most common and costly interior upgrade mistakes. A contractor who bids "finished drywall" may mean Level 3 when you expected Level 5. That gap can mean thousands of dollars in rework and weeks of delay. Knowing the scale lets you write it into your contract and hold everyone accountable.
6 levels
Standardized finish grades (0 through 5)
The Gypsum Association's GA-214 standard defines each level, providing a consistent specification framework used across residential and commercial construction.
Level 4
Default residential interior standard
Industry practice treats Level 4 as the baseline for finished living spaces; contractors typically bid to this level unless a different one is specified in writing.
Level 5
Required finish under gloss paint
Paint manufacturers and the Gypsum Association both recommend Level 5 finishing when gloss or semi-gloss paints will be applied over drywall surfaces.
The Full Scale: Level 0 Through Level 5
Each level builds on the one before it, adding coats, sanding, and detail until the surface is ready for its intended finish.
- Level 0: No finishing whatsoever. Panels are hung but joints, fasteners, and cut edges are left completely bare. Used only in temporary construction or active build phases where the drywall may still be modified.
- Level 1: Joint compound is applied to all tape-embedded joints and interior angles, but the surface is not sanded or smoothed. Fastener heads remain uncovered. Appropriate for areas that will never be seen - above finished ceilings, inside mechanical shafts, and similar concealed spaces.
- Level 2: A thin skim coat of compound goes over the tape and fasteners. Excess compound is wiped clean, but no sanding is done. This level is the minimum for tile substrates (where the tile itself provides the finish) and fire-rated assemblies where appearance is not required.
- Level 3: One additional coat of compound is applied after the Level 2 base, then sanded smooth. Fastener heads receive two coats. This level works under heavy textures - skip trowel, knockdown, or heavy orange peel - that physically hide minor surface variation. It is not appropriate under flat paint in finished rooms.
- Level 4: The residential standard. Three coats of compound are applied, each feathered wider than the last, then sanded. Fastener heads receive three coats. The result is a surface suitable under flat, matte, or eggshell paints in typical interior lighting. Most bedrooms, living rooms, and hallways are finished to Level 4.
- Level 5: A full skim coat of compound is applied over the entire Level 4 surface, then lightly sanded. This eliminates all surface variation and produces the most paint-ready wall possible. Required under gloss and semi-gloss paints, and under any conditions where raking light - such as a wall adjacent to a large window - would expose surface inconsistencies.
Matching Finish Level to Your Specific Project
The right level depends on three intersecting factors: the room's function, the intended paint sheen, and the lighting environment.
Lighting is the variable most homeowners underestimate. A wall that looks perfectly smooth under diffuse overhead light can show every joint ridge and fastener dimple when exposed to a low, raking sun through a sidelight window. If you're finishing walls in a sun-filled great room or installing sconce lighting that washes across a surface, budget for Level 5 regardless of paint sheen.
Test Your Wall With a Work Light
Before signing off on any drywall finish, hold a bright work light at a sharp angle along the wall surface in a darkened room. This raking light test reveals ridges, trowel marks, and surface variations that would otherwise be invisible under overhead lighting. If imperfections are visible, they will likely be visible under certain paint sheens or natural light conditions - address them before priming.
Paint sheen amplifies imperfections. This is why the choice of finish level and paint sheen should be made together - not as separate decisions. For more on matching sheen to room function, see our guide to interior paint sheens.
Room function shapes expectations. A basement utility room can stop at Level 2. A finished basement bedroom warrants Level 4, and if the plan includes semi-gloss trim paint on the walls, move to Level 5. If you're planning a full basement conversion, the basement finishing process overview covers how drywall specification fits into the broader build sequence.
Practical Guidance for Homeowners and DIYers
Whether you're hiring a contractor or tackling finishing yourself, the principles remain the same.
When hiring out: Write the finishing level directly into the scope of work - not just "finished drywall." Ask the contractor to confirm the number of coats and whether a skim coat is included at Level 5. Get it in writing before work begins.
When doing it yourself: Achieving Level 4 is within reach for a patient DIYer with proper tools and enough time for compound to dry fully between coats. Level 5 is significantly more demanding and requires a confident hand with a skim knife. Most homeowners attempting a first finish are best served targeting Level 4 and using flat or matte paint to give the surface its best chance.
Regardless of level, proper sanding between coats, adequate lighting during inspection, and priming before paint are non-negotiable steps. A primer coat reveals surface imperfections that compound and paint can easily hide until the light hits the wall at the wrong angle.
Frequently Asked Questions

Author
Home & Garden Editorial Team
Home & Garden Editorial Team is the collective byline for our editorial team and contributor network. Articles published under this byline or an editorial pen name are researched, written, and reviewed according to our editorial standards for clarity, consistency, and independence before publication.
View all articles →