
Composting at Home: Turning Kitchen Scraps into Garden Gold
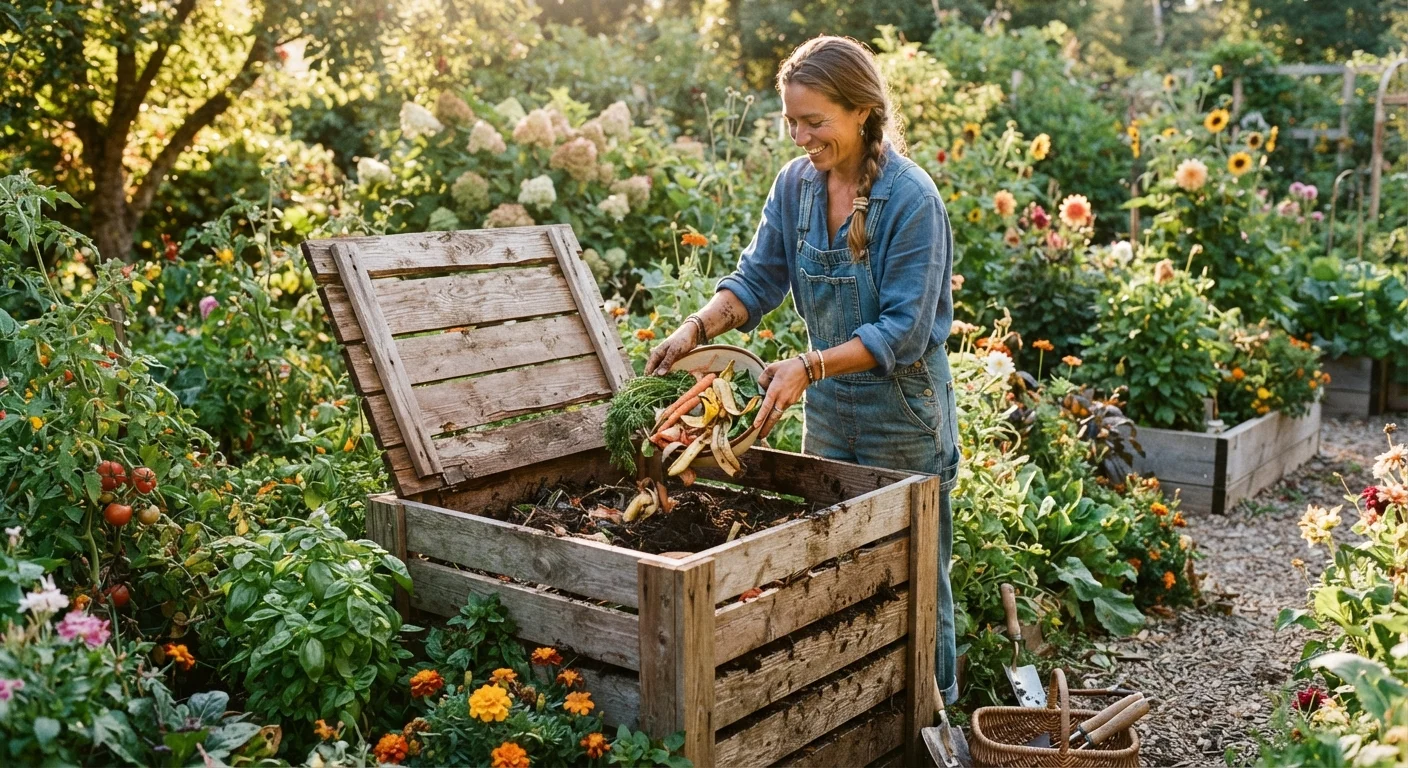
Photo credit: PrimeFaqs.com | Trending And Accurate Content
In this article
A practical walkthrough for setting up a compost system, what to add (and avoid), and how to know when your compost is ready to use.
Key Takeaways
- Composting requires a balance of nitrogen-rich 'greens' and carbon-rich 'browns' for effective decomposition.
- Avoid adding meat, dairy, oily foods, or diseased plant material to your compost bin.
- Turning your pile regularly and maintaining moisture speeds up the composting process.
- Finished compost looks dark, crumbly, and smells earthy - not rotting or sour.
- Homemade compost improves soil structure, drainage, and microbial activity in garden beds.
Why Composting Is Worth the Effort
Every year, the average American household sends a significant portion of its organic waste - vegetable peels, coffee grounds, eggshells, and yard trimmings - straight to the landfill, where it produces methane rather than nourishing anything. Composting intercepts that material and converts it into a dark, crumbly soil amendment that gardeners often call 'black gold.'
Finished compost feeds soil biology, improves drainage in clay-heavy ground, and helps sandy soil retain moisture. If you've already read about what healthy garden soil is made of, you know that organic matter is the foundation of productive ground. Compost is one of the most direct ways to build it yourself, for free, using materials you'd otherwise discard.
Pair Composting with Your Garden Calendar
Timing your compost production to align with planting seasons makes a big difference. Starting or refreshing a pile in late summer means you'll have finished compost ready by spring. Check out our seasonal garden maintenance reference to plan ahead.
What You'll Need Before You Start
Setting up a compost system doesn't require expensive equipment. The essentials are simple, and most can be repurposed from materials you already have on hand.
What you will need
Compost bin or enclosure
Contains the pile, retains heat, and keeps pests out. Can be purchased or DIY-built from pallets or chicken wire.
Garden fork or pitchfork
Used to turn and aerate the pile, which speeds decomposition by introducing oxygen.
Kitchen countertop compost crock or small bin
Holds a few days' worth of kitchen scraps before you make the trip out to the main bin.
Compost thermometer
Measures the internal temperature of your pile to confirm active decomposition (ideally 130-160°F).
Watering can or hose with a gentle spray setting
Adds moisture to a pile that is too dry to decompose effectively.
Step-by-Step: Building and Managing Your Compost Pile
Follow the steps below to get your system up and running. The process is forgiving - small mistakes won't ruin your compost, they'll just slow it down.
Choose and set up your bin location
Pick a spot that gets partial sun and has decent drainage - full shade slows decomposition, and standing water creates anaerobic conditions. Place your bin or designate a pile area directly on the ground (not concrete) so beneficial worms and microbes can migrate up from the soil.
Lay a carbon-rich base layer
Start with a 4-6 inch layer of 'browns' - dry leaves, straw, torn cardboard (no glossy coatings), or wood chips. This base layer absorbs moisture from later additions and ensures airflow at the bottom of the pile.
Add your 'greens' - nitrogen-rich materials
Layer in 2-4 inches of nitrogen-rich 'greens': vegetable and fruit scraps, coffee grounds and paper filters, fresh grass clippings, and plant trimmings. Aim for roughly a 3:1 ratio of browns to greens by volume. Too many greens without sufficient browns leads to a wet, smelly pile.
- Add: fruit and vegetable scraps, eggshells, tea bags (paper only), coffee grounds, fresh grass clippings, plant cuttings
- Avoid: meat, fish, dairy, oily or cooked foods, pet waste, diseased plants, or anything treated with persistent pesticides
Maintain moisture and continue layering
Your pile should feel like a wrung-out sponge - moist but not dripping. If it's too dry, mist it with water. If it's too wet and smells sour, add more browns and turn the pile. Continue alternating green and brown layers as material becomes available.
Turn the pile regularly
Use a garden fork to turn the entire pile every one to two weeks, moving outer material toward the center. Turning introduces oxygen, which feeds aerobic microbes - the ones responsible for efficient, odor-free decomposition. A pile that's regularly turned can produce finished compost in as little as 6-8 weeks during warm weather.
Avoid Adding Diseased or Pest-Infested Plant Material
Home compost piles rarely reach temperatures high enough to kill all pathogens and weed seeds. Adding diseased plant material - such as tomato plants with blight or rose canes with black spot - risks spreading the problem when you apply the finished compost. When in doubt, bag and dispose of infected material through your curbside green waste program rather than the home bin.
Knowing When Your Compost Is Ready
Compost is finished when it no longer looks like the materials you put in. Fully cured compost is uniformly dark brown, has a loose crumbly texture, and smells pleasantly earthy - similar to rich forest soil. If you can still identify eggshells, sticks, or food scraps, give it more time and a few more turns.
A simple squeeze test helps: grab a damp handful. It should hold its shape briefly but break apart easily, like moist potting soil. If it's slimy or still hot in the center, the pile is still actively breaking down.
Once ready, work finished compost into garden beds before planting, use it as a top-dressing around established plants, or blend it into containers. For a fuller picture of how compost fits into a food garden from the ground up, see our guide on starting a vegetable garden from zero. You can also pair compost with the right garden mulch to lock in moisture and reduce weeding.

Author
Home & Garden Editorial Team
Home & Garden Editorial Team is the collective byline for our editorial team and contributor network. Articles published under this byline or an editorial pen name are researched, written, and reviewed according to our editorial standards for clarity, consistency, and independence before publication.
View all articles →