
Reactive Dogs on Leash: What's Happening and How Desensitization Can Help
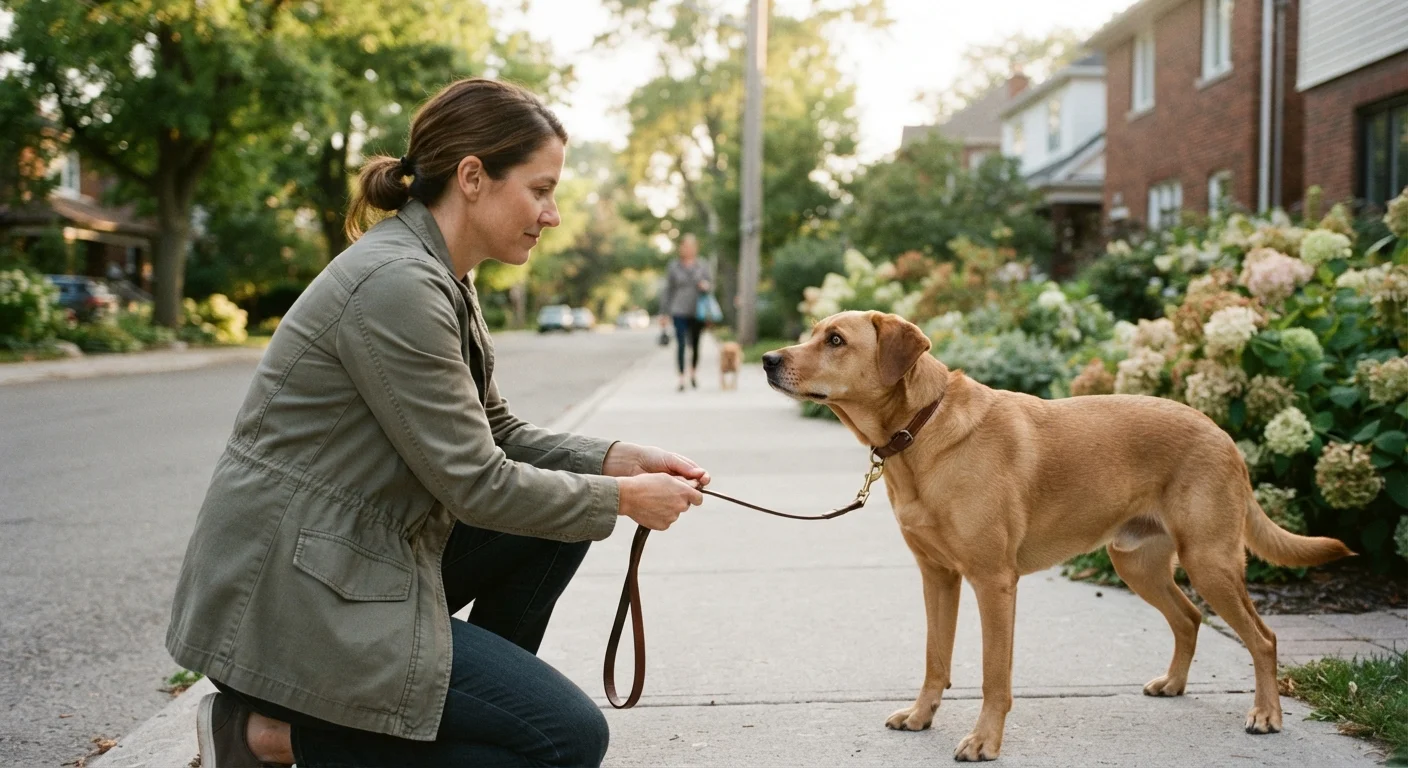
Photo credit: PrimeFaqs.com | Trending And Accurate Content
In this article
Leash reactivity isn't aggression—it's usually fear or frustration. Learn how systematic desensitization and counter-conditioning address the root cause.
Key Takeaways
- Leash reactivity is usually rooted in fear or frustration, not dominance or aggression.
- Systematic desensitization works by gradually exposing your dog to triggers below the threshold that causes a reaction.
- Counter-conditioning pairs triggers with high-value rewards to change your dog's emotional response.
- Consistency, patience, and staying below threshold are essential for lasting progress.
- A certified professional trainer or veterinary behaviorist can significantly improve outcomes for severe cases.
Why Leash Reactivity Happens
Leash reactivity - barking, lunging, or growling at other dogs, people, or objects while on leash - is among the most common behavioral challenges owners report. It is also one of the most misunderstood. Many owners assume it signals aggression or a "dominant" personality, but animal behaviorists generally view it differently. The leash itself is a significant factor: it removes the dog's ability to flee or to approach and investigate naturally, compressing its available responses into an intense display.
Most reactive dogs fall into one of two categories. The first is fear-based reactivity: the dog is genuinely frightened and is using big behavior to make the threat go away. The second is frustration-based reactivity, sometimes called "frustrated greeter" syndrome: the dog desperately wants to get to the other dog or person but cannot, and that blocked motivation spills over into explosive behavior. Some dogs experience both simultaneously.
Understanding which pattern - or combination - drives your dog's behavior matters because the underlying emotional state shapes how you approach training. In either case, the goal is not to suppress the behavior through punishment (which can increase anxiety and worsen reactivity) but to change the emotional association with the trigger. You can read more about why this approach outperforms correction-based methods in our article on the science behind reward-based training. It is also worth noting that reactivity is distinct from other anxiety-driven behaviors - for comparison, see how separation anxiety manifests and is managed differently.
Severe Reactivity Needs Professional Support
If your dog has made contact during a reactive episode, has escalated to biting, or shows signs of intense fear that cannot be managed safely, consult a certified veterinary behaviorist or a credentialed applied animal behaviorist before attempting a training protocol at home. Some cases also have an underlying medical component that warrants a veterinary checkup.
What You'll Need Before Starting
Effective desensitization and counter-conditioning require the right setup. Rushing into sessions without the proper tools or a clear understanding of your dog's baseline will slow progress and can make things worse.
What you will need
Front-clip or no-pull harness
Reduces pulling force and gives you better directional control without putting pressure on the dog's throat during a reactive episode.
High-value training treats
Used to pair the sight of a trigger with a positive experience, forming the foundation of counter-conditioning.
Treat pouch or bait bag
Keeps rewards immediately accessible so you can deliver them within one to two seconds of the trigger appearing.
Clicker
Provides a precise, consistent marker signal to communicate exactly which moment earns the reward.
Notebook or training log
Tracks trigger distances, session outcomes, and progress over time to guide your training decisions.
If your dog does not yet have a reliable foundation of basic cues, consider building those first. The sit, stay, and come foundation guide walks through exactly that groundwork. It is also worth reading about common training myths that might be shaping your expectations in unhelpful ways.
The Desensitization and Counter-Conditioning Protocol
Systematic desensitization means exposing your dog to a trigger at an intensity low enough not to trigger a reaction, then very gradually increasing that intensity over many repetitions and sessions. Counter-conditioning means pairing that exposure with something the dog finds genuinely positive - typically a high-value food reward - to shift the emotional response from negative to neutral or positive.
Used together, these two techniques form the evidence-based backbone of humane leash-reactivity intervention. The steps below walk you through the full protocol from assessment through active training management.
High-Value Treats Make the Difference
For counter-conditioning to work, the reward must genuinely outcompete the trigger in your dog's mind. Use something your dog only gets during these sessions - small pieces of real meat, cheese, or a commercial treat your dog goes wild for. Kibble rarely cuts it when competing with a barking dog across the street.
Understand your dog's triggers and threshold distance
Before any formal training begins, observe your dog carefully on several walks. Note exactly what triggers a reaction - other dogs, strangers, cyclists, skateboards - and, critically, the distance at which the reaction begins. This is called the threshold distance. Your entire training protocol depends on staying just outside it.
Keep a simple log: trigger type, approximate distance, and the intensity of the response (1-10 scale). Patterns in this data will guide how you structure sessions.
Build a strong "look at me" cue before hitting the street
A reliable attention cue is the single most practical tool in leash-reactivity work. Practice indoors first: hold a treat near your eye, say "look" or "watch me," and reward the moment your dog makes eye contact. Progress to asking for the cue without the treat lure, then in gradually more distracting environments.
Your dog should be able to hold eye contact for two to three seconds in a moderately distracting space before you rely on this cue outdoors near triggers.
Find a low-traffic location to practice sub-threshold exposure
Choose a spot where you can reliably see triggers approaching from a distance - a park perimeter, a quiet side street, or a parking lot near a dog-walking path. You want enough space to create distance quickly if needed.
The goal is to position yourself far enough away that your dog notices the trigger but does not react. At this distance, your dog should still be able to look at you, take treats, and move relatively normally. This is the training zone.
Apply the "Open Bar / Closed Bar" counter-conditioning protocol
This foundational technique is widely used by certified trainers and is grounded in classical conditioning principles. The mechanics are straightforward:
- Trigger appears: Begin feeding high-value treats continuously ("open bar").
- Trigger disappears: Stop feeding immediately ("closed bar").
Repeat across many sessions. Over time, your dog begins to predict that triggers predict good things, and the emotional response starts to shift from alarm or frustration toward anticipation. This is the core mechanism of counter-conditioning. For a deeper look at why this works neurologically, see the science behind reward-based training.
Gradually decrease the threshold distance over multiple sessions
Once your dog reliably orients toward you (rather than the trigger) at your current working distance across several sessions, you can begin reducing the distance incrementally - often by just a few feet at a time. There is no fixed timeline; progress is dictated entirely by your dog's behavior, not the calendar.
Signs you have moved too close too fast include: fixating on the trigger, ignoring treats, whale eye, stiffened body posture, or vocalizing. If any of these appear, calmly increase distance and return to the previous successful range for a few more sessions.
Practice "emergency U-turns" for unexpected encounters
Even with careful planning, triggers will appear without warning. Train a reliable direction change at home: walk forward, say "this way" or "let's go" in a cheerful tone, turn briskly, and reward your dog for following. Practice this until it is automatic for both of you.
On walks, when a trigger appears before you can create enough distance, use your U-turn to move away quickly - before your dog reaches threshold. Retreating is not failure; it is smart management that prevents the reactive loop from being rehearsed and reinforced.
Track progress and adjust the plan as needed
Review your training log weekly. Look for trends: Is threshold distance decreasing? Are reactions becoming shorter or lower intensity? Is your dog recovering more quickly after an over-threshold moment? These are all meaningful signs of progress even when full reactivity has not resolved.
If progress has stalled after several consistent weeks, consider consulting a certified professional trainer (look for CPDT-KA or IAABC credentials) or asking your veterinarian whether a behavioral consultation is appropriate. For context on what to expect going into a session, the training session readiness checklist offers a useful pre-session framework.
Never Flood or Force Exposure
Flooding - forcing a dog to remain in the presence of a trigger until it stops reacting - can dramatically worsen reactivity and erode trust. Always work below the threshold distance where your dog notices the trigger but remains calm. If your dog is already reacting, you have moved too close too fast.
This article is for general educational purposes only and does not constitute professional veterinary or behavioral advice. Always consult a qualified veterinarian or certified animal behaviorist for guidance tailored to your individual dog's needs.

Author
Pets & Animals Editorial Team
Pets & Animals Editorial Team is the collective byline for our editorial team and contributor network. Articles published under this byline or an editorial pen name are researched, written, and reviewed according to our editorial standards for clarity, consistency, and independence before publication.
View all articles →