
Grooming at Home Without Stressing Your Pet Out
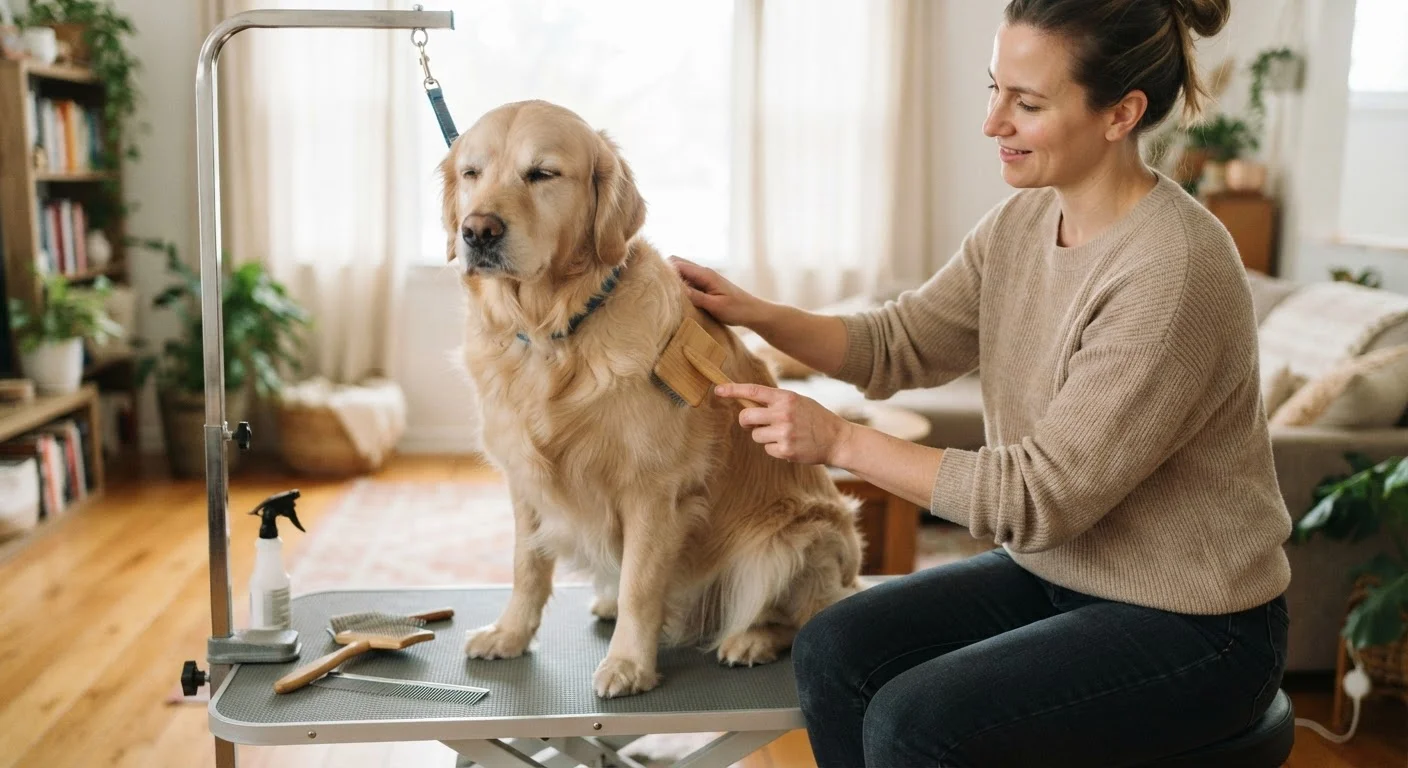
Photo credit: PrimeFaqs.com | Trending And Accurate Content
In this article
Brushing, nail trims, and ear cleaning don't have to be a battle. Practical techniques to make grooming calmer and safer for both of you.
Key Takeaways
- Starting grooming sessions slowly and positively reduces fear and resistance over time.
- Short, reward-based sessions are more effective than long, forceful ones.
- Reading your pet's body language helps you stop before stress escalates.
- Nail trims, ear cleaning, and brushing each require their own technique and timing.
- Consistency makes grooming feel routine - anxious pets benefit most from predictable schedules.
Why Home Grooming Matters Beyond Appearances
Grooming is not just cosmetic. Regular brushing distributes natural skin oils, prevents painful matting, and allows you to notice lumps, skin changes, or parasites early. Nail trims prevent postural problems and joint strain caused by overgrown nails forcing a pet to walk unnaturally. Ear cleaning, done appropriately, reduces the risk of debris buildup that can precede infection.
Beyond physical health, grooming is a form of handling - and how comfortable your pet is with being touched directly affects veterinary visits, emergencies, and daily care. Pets who are routinely, gently handled at home tend to be less reactive in clinical settings. Building a positive grooming habit is an investment in your animal's overall wellbeing. If you are new to pet ownership, grooming basics fit naturally into the broader foundation covered in our guide on getting started with pet ownership.
Watch for Subtle Stress Signals
Yawning, lip-licking, turning the head away, and a tucked tail can all signal discomfort before visible panic sets in. Learning to recognize these early cues allows you to pause and reset before your pet reaches a crisis point. For a fuller picture of what stress looks like in dogs and cats, explore our guide on signs your pet may be carrying hidden stress.
What You'll Need
Having the right tools for your specific pet's coat type, nail thickness, and ear anatomy makes a meaningful difference. Using a brush designed for a different coat type - or clippers that are dull or too large - creates unnecessary discomfort and resistance. Ask your veterinarian or a professional groomer what tools suit your pet's breed and condition best before purchasing.
What you will need
Slicker brush or deshedding comb
Removes loose fur, tangles, and debris from the coat without irritating the skin when used correctly.
Pet nail clippers
Trim overgrown nails safely at home; sized correctly for your pet's nail thickness.
Styptic powder
Stops minor bleeding quickly if a nail is accidentally cut too short, reaching the quick.
Vet-approved ear cleaning solution
Loosens debris and wax inside the ear canal without disrupting healthy ear chemistry.
High-value treats
Provides positive reinforcement during and after grooming to build calm associations.
Non-slip bath mat
Keeps your pet steady during grooming so they feel secure rather than scrambling for footing.
Step-by-Step: Grooming Your Pet Calmly at Home
Follow these steps in order, especially during early grooming sessions. Rushing through any stage - particularly the introduction phase - is one of the most common reasons pets develop lasting grooming aversion. Patience in the first few sessions pays significant dividends over your pet's lifetime.
Set the stage before you start
Choose a time when your pet is already calm - after a walk or a meal, not during peak energy. Select a quiet room, away from loud appliances or other pets. Lay a non-slip mat on a table or the floor, and have all your tools within reach before you bring your pet in. Scrambling for supplies mid-session creates unnecessary tension.
Introduce tools before using them
Let your pet sniff each tool - brush, clippers, cotton balls - while offering a treat. Touch the tool gently to their coat or paw without performing the grooming task yet. This step teaches your pet that the appearance of grooming tools predicts good things rather than discomfort. Repeat across a few sessions if needed before moving on.
Brush the coat using slow, deliberate strokes
Work in the direction of hair growth, starting at the neck and moving toward the tail. Use one hand to gently support the skin near tangles to reduce pulling. For long-coated animals, work through mats in layers from the tip inward - never yank from the base. Offer a treat every minute or so to maintain a positive association throughout.
Trim nails one at a time - never rush this step
Hold your pet's paw firmly but gently. Identify the quick - the pinkish blood vessel visible in light-colored nails, or estimated by the dark hollow core in black nails. Clip only the curved tip, well clear of the quick. Release the paw, offer a treat, and pause before moving to the next nail. You do not need to trim all nails in one sitting, especially with nervous pets.
Clean ears gently and only as needed
Healthy ears need minimal intervention. When cleaning is warranted, apply a few drops of vet-approved ear cleaning solution into the ear canal, then gently massage the base of the ear for about 20-30 seconds. Allow your pet to shake their head - this loosens debris naturally. Use a cotton ball to wipe out visible wax or discharge from the outer ear only. Never insert cotton swabs into the ear canal.
End every session on a positive note
Finish before your pet reaches their stress threshold - ideally while they are still relaxed. Offer a high-value reward and a few calm moments of affection. This closing ritual reinforces that grooming ends well. Over time, many pets begin to tolerate - and some even welcome - grooming sessions as a regular, predictable part of life.
Know When to Stop - and When to Call a Pro
If your pet shows signs of serious distress - trembling, snapping, attempting to bite, or extreme freezing - stop the session immediately and do not push through. Forcing an already fearful animal can deepen anxiety and create lasting negative associations. For pets with significant grooming fear, matted coats, or medical sensitivities, consult a professional groomer or your veterinarian before attempting certain tasks at home.
Building Long-Term Grooming Tolerance
Grooming comfort is built incrementally. Pets who seem impossible to groom today can, with consistent positive exposure, become far more cooperative over weeks and months. The key is to keep sessions short, predictable, and reward-rich - never a test of endurance for either of you.
If your pet is a senior animal, be especially attentive: arthritis, dental sensitivity, and thinner skin can make certain grooming positions or pressures uncomfortable. Adjust your technique accordingly, and consult your veterinarian about any changes. Our guide on keeping an aging pet comfortable covers how wellness routines shift as pets grow older.
This article provides general educational information about pet care practices and is not a substitute for advice from a qualified veterinarian. If your pet has medical conditions, skin issues, ear problems, or significant behavioral concerns, consult your veterinarian before beginning a home grooming routine.

Author
Pets & Animals Editorial Team
Pets & Animals Editorial Team is the collective byline for our editorial team and contributor network. Articles published under this byline or an editorial pen name are researched, written, and reviewed according to our editorial standards for clarity, consistency, and independence before publication.
View all articles →