
Recessed Lighting Layout: How Electricians Plan Spacing and Placement
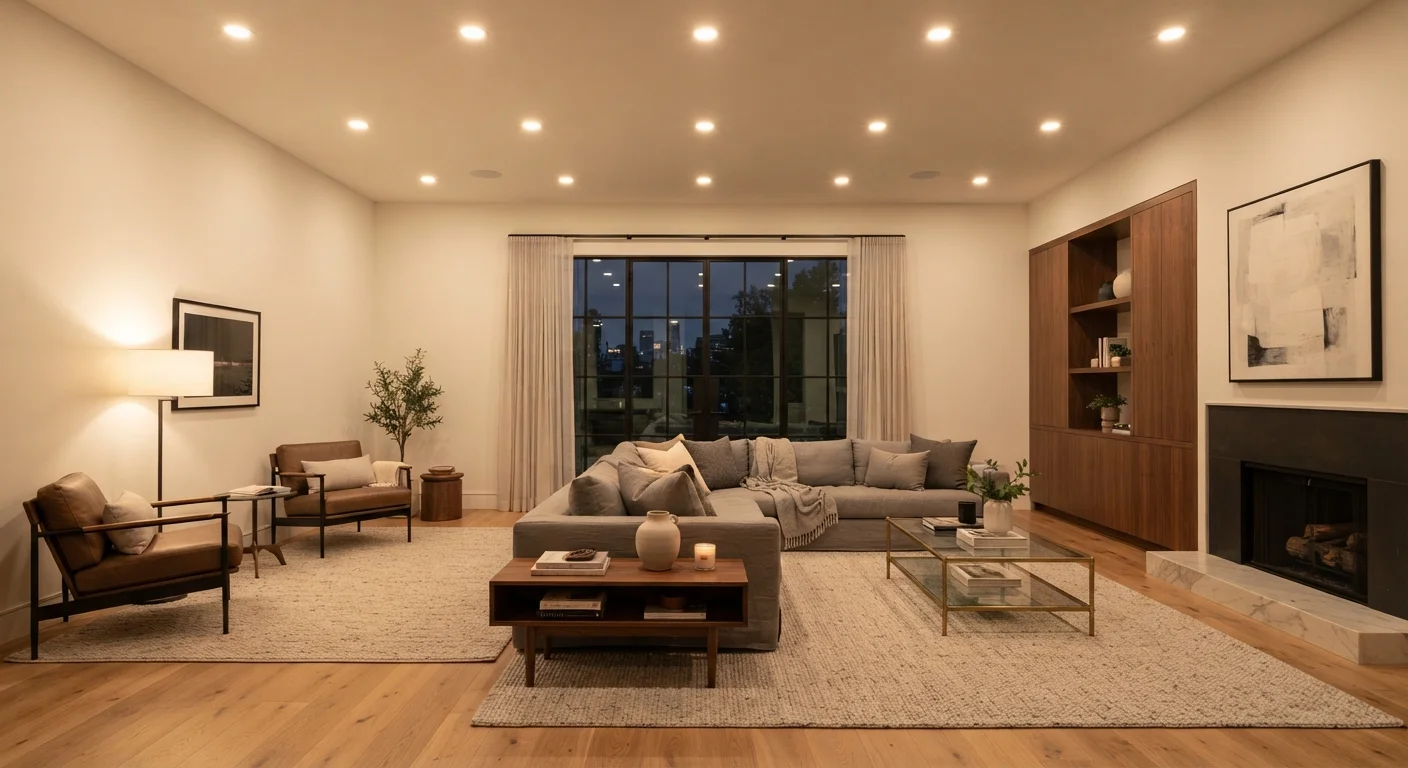
Photo credit: PrimeFaqs.com | Trending And Accurate Content
In this article
Good recessed lighting starts with a deliberate layout. Understand the spacing rules, fixture types, and circuit planning electricians use in residential installs.
Key Takeaways
- Spacing recessed lights at roughly half the ceiling height apart prevents dark spots and hot zones.
- Fixture beam angle and lumen output determine how many cans a room actually needs.
- Electrical circuit load calculations must be completed before finalizing fixture counts.
- Wall-washing and task lighting require different placement rules than general ambient lighting.
- Most jurisdictions require a licensed electrician for new circuit wiring - always verify local code.
Why Layout Planning Matters Before You Touch the Ceiling
Recessed lighting failures - uneven pools of light, glare, shadows over work surfaces - almost always trace back to a layout that was improvised rather than planned. A deliberate layout accounts for ceiling height, room function, fixture photometrics, and electrical capacity before a single hole is cut. Fixing a poorly placed fixture means patching drywall; getting it right the first time is far less costly.
Understanding how electricians approach this process gives homeowners two advantages: you can plan your own layout to bring to a contractor, reducing design fees, or you can make informed decisions if you're doing the trim-out yourself after licensed rough-in work is complete.
What you will need
Gather your tools and materials before beginning.
Tape measure
Measure room dimensions and mark consistent spacing between fixture locations.
Graph paper or room-planning app
Draw a scaled floor plan to map out fixture positions before marking the ceiling.
Stud finder
Locate ceiling joists to avoid conflicts when positioning fixture housings.
Voltage tester (non-contact)
Verify circuits are de-energized before any work near existing wiring.
Hole saw (recessed lighting size)
Cut clean, correctly sized openings in drywall for each fixture housing.
Painter's tape
Mark proposed fixture locations on the ceiling as a visual dry run before cutting.
Step-by-Step: Planning Your Recessed Lighting Layout
Work through each step in order. Skipping the planning stages and going straight to cutting is the most common mistake homeowners make - and the hardest to undo.
Measure the room and draw a scaled floor plan
Record the room's length, width, and ceiling height. On graph paper or in a planning app, draw the room to scale. Note the locations of doors, windows, furniture anchor points, ceiling fans, and any existing fixtures. This plan becomes your working document for every decision that follows.
Determine your lighting zones and purpose
Divide the room into lighting zones: general ambient, task (over a kitchen island or desk), and accent or wall-washing. Each zone uses different placement logic. Ambient lighting fills the whole room evenly; task lighting concentrates output in a specific work area; wall-washing grazes artwork or textured surfaces from a fixture placed 12-18 inches from the wall.
Apply the ceiling-height spacing formula
For general ambient lighting, electricians commonly use this rule of thumb: divide the ceiling height in half to get the recommended spacing between fixtures. In a room with 8-foot ceilings, place cans roughly 4 feet apart. For 9-foot ceilings, aim for 4.5-foot spacing. Start the first row of fixtures half that spacing distance from the wall - so about 2 feet from each wall in an 8-foot room - to avoid overlighting perimeters or leaving dark corners.
Select fixture size and confirm beam angle
Common residential recessed fixture diameters are 4-inch and 6-inch. Smaller 4-inch fixtures suit lower ceilings and tighter grids; 6-inch fixtures deliver broader spread in larger rooms. Check the fixture's beam angle (listed in the spec sheet) and lumen output. A fixture producing 650-800 lumens with a 60° beam angle at 8-foot mounting height illuminates roughly a 9-foot-diameter circle at floor level - use this to confirm spacing decisions on your floor plan.
Verify circuit capacity before finalizing fixture count
Each 15-amp circuit can safely carry a continuous load up to 1,440 watts (80% of 1,800W). LED recessed fixtures typically draw 8-15 watts each, so a single 15-amp circuit can handle a large number of LED cans. However, if the circuit also feeds outlets or other fixtures, add up all loads before finalizing your count. A 20-amp dedicated circuit is preferable when serving a large room. Have a licensed electrician review your load calculation if you're uncertain.
Mark fixture locations on the ceiling and check for obstructions
Transfer your plan to the ceiling using a chalk line or painter's tape. Use a stud finder to confirm no joist runs through a proposed cut location - if one does, shift the fixture a few inches. In second-floor ceilings or attic-accessible spaces, also check for HVAC ducts, pipes, and blocking before committing to a location.
Finalize the plan and hand off wiring to a licensed electrician
With locations confirmed, compile a complete layout document: fixture count, spacing, circuit assignment, switch locations, and any dimmer requirements. Provide this to your licensed electrician. They will run the rough-in wiring, install housings, pull the permit, and schedule any required inspections. You can typically install trim and bulbs yourself after the electrician completes and the inspector approves the rough-in - confirm this with your local authority having jurisdiction (AHJ).
Use Painter's Tape to Mockup Your Layout
Before cutting any holes, place painter's tape on the ceiling at each proposed fixture location. Stand in the room, view the pattern from multiple angles, and adjust as needed. This zero-cost dry run can save you from patching drywall later.
Electrical Work Requires a Licensed Professional
Planning a recessed lighting layout is a task homeowners can do themselves, but running new circuits, wiring fixtures, or modifying your electrical panel must be done by a licensed electrician in most U.S. jurisdictions. Unpermitted electrical work can void homeowner's insurance and create serious fire and shock hazards. Always check your local building codes and pull the required permits before any installation begins.
Special Placement Considerations
Wall-Washing
To wash a wall evenly with light, position fixtures 12-18 inches from the wall surface, spaced 24-30 inches apart horizontally. Use adjustable or directional trims aimed at the wall rather than standard downlights. This technique works well to highlight bookcases, artwork walls, or stone fireplace surrounds.
Kitchen Task Lighting
Over countertops, place fixtures so the beam center falls on the countertop edge - not the back wall. A fixture centered 24 inches from the wall and aimed straight down typically covers a standard 25-inch deep countertop. Over islands, center fixtures directly above the work surface and space them 24-36 inches apart along the island's length.
Dimmer Compatibility
Most LED recessed fixtures require a dimmer specifically listed for LED loads. Using an incandescent-rated dimmer with LED fixtures causes flickering, buzzing, and reduced bulb lifespan. Verify dimmer-to-fixture compatibility in the fixture's documentation before purchasing either component.
Don't Ignore Insulation Contact Ratings
Recessed fixtures installed in ceilings below insulated spaces must be rated IC (Insulation Contact). Non-IC fixtures surrounded by insulation can overheat and become a fire risk. Check the fixture label before purchase and verify the rating matches your ceiling assembly.

Author
Home & Garden Editorial Team
Home & Garden Editorial Team is the collective byline for our editorial team and contributor network. Articles published under this byline or an editorial pen name are researched, written, and reviewed according to our editorial standards for clarity, consistency, and independence before publication.
View all articles →